How to fix translated text that overflows in Figma
The translation arrived intact. The last word disappeared on the canvas. Find which constraint needs to change before shortening the message.
When translated text gets cut off in Figma, check the text layer, its parent and the next enclosing frame separately. The words may be present while a fixed height, truncation rule or clipping ancestor hides them. Give the layout room to respond, then decide whether the copy needs a shorter approved alternative.
This is a recurring production question. In a Figma Community discussion, a designer could expand the text but not its surrounding frame; changing the frame’s sizing resolved that part of the problem. Translation adds another variable: the amount of space the message needs.
Find the layer that is losing the words
Duplicate a representative frame before changing anything. Keep the source and target beside each other, with the same viewport width and intended font.
First inspect the actual text content. If the final word is absent from the layer itself, investigate generation, selection or copying. Resizing a box cannot recover text that was never inserted. If the full message is present, follow the visible symptom:
| What you see | Check first | Decision to make |
|---|---|---|
| The last line is hidden | Text height, truncation and clipping ancestors | May the text and card grow vertically? |
| A label runs into its icon | Label width, padding and row sizing | May the action widen, wrap or move? |
| The text fits but overlaps the next item | Parent height and sibling positioning | Should the parent arrange those items in flow? |
| A word refuses to wrap | The word, available width and target font | Widen the space or ask for an appropriate copy treatment. |
| Letters are missing or look substituted | Font availability and script coverage | Use a suitable font, then repeat the fit check. |
These are diagnostic starting points, not an automatic detector. A frame can have more than one problem.
Separate text resizing from parent resizing
Figma treats a text layer’s dimensions, resizing behaviour and font size as separate choices. Manually dragging its bounds can switch it to Fixed size. Auto width grows horizontally and breaks at explicit line breaks. For a constrained paragraph, inspect its vertical resizing instead of assuming a larger bounding box will remain responsive. See Figma’s text-resizing reference.
Then inspect the containing frame. A practical starting pattern for a card is a bounded width, text that can use the available width, and an auto-layout parent whose height follows its children with Hug contents. Keep padding and spacing intentional. For a short action, allowing width to follow the label may be appropriate; for a narrow mobile action, a wrapping treatment may fit better.
Repeat the check one level up. A growing child cannot make a fixed-height ancestor safe by itself. Figma’s auto-layout guide explains how Fill container, Hug contents and fixed sizing relate. Choose the axis deliberately; setting everything to Hug is not a universal solution.
Try a small text-fit experiment
Open the interactive exercise and compare three specimens: an English source, a manually supplied German draft in the same fixed box, and that draft with wrapping and automatic height. You can also download the HTML and read the exercise notes. Saving the HTML locally lets you run it without an account or network connection.
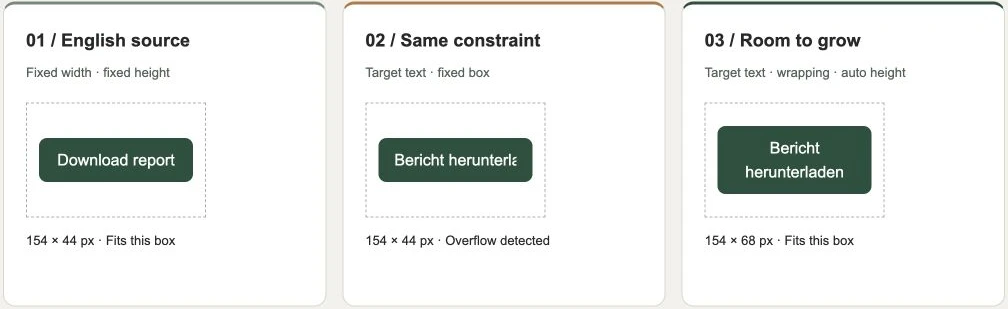
At the default 180 px outer width and 16 px Arial text in our Chrome check, the fixed labels measured 154 × 44 px. The English label fitted; the German draft overflowed. The wrapping draft measured 154 × 68 px and fitted without shrinking its text. Border and padding account for the space between the outer container and label.
Now try three changes:
- Set the outer width to 260 px. The flexible label can use the added room; the fixed label remains constrained.
- Increase the text size to 24 px at the original width. In our check even the English source overflowed. The flexible German draft grew taller but still exceeded the available width: a word itself needed more space.
- Paste a long unbroken test token. Wrapping at spaces cannot help where there is no space.
The readouts inspect this specimen’s browser dimensions. They do not reproduce Figma’s renderer or certify language quality. Recreate the labels in your own Figma component and repeat the same decisions there.
Give the translator a useful constraint
“Keep it short” leaves the important choice unspecified. A better brief explains the action, the available treatment and what must survive:
Primary action that downloads the current report. Prefer a concise, natural label. The component may grow to two lines. Preserve the download meaning; flag a conflict rather than dropping it to fit.
Use the actual component and target-language reviewer to decide whether that treatment is acceptable. Character count is a useful warning, not a measurement of rendered width. W3C’s text-size guidance explains why short phrases, glyph widths and unbroken compound words complicate fit. A single expansion percentage cannot approve every label.
Do not silently truncate a critical action or disclaimer. If the component requires a strict limit, make that an explicit design and language-review decision. A shorter approved wording, a wider component and a different placement have different consequences.
Use Nativ, then review the resulting frame
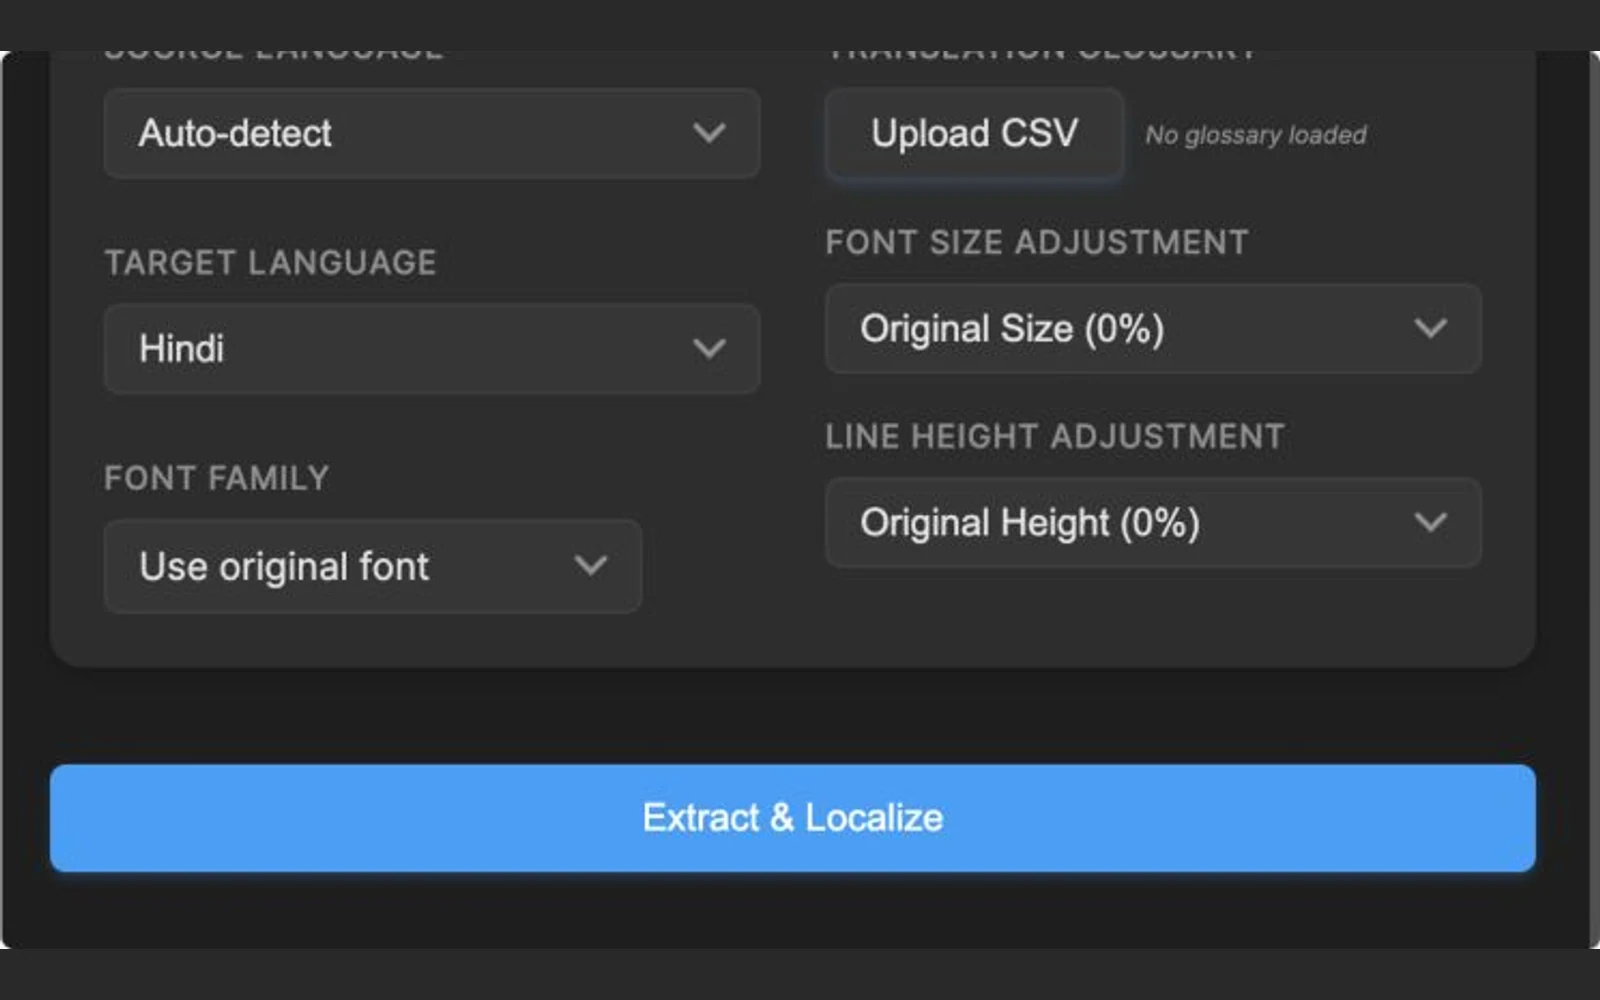
Nativ for Figma localises editable text in the design and provides glossary, font-family, font-size and line-height controls. Start with a duplicated test frame, select the intended text, choose the target language, and supply the placement brief and relevant terminology. Check the workspace’s current credits before running localisation.
Keep the font adjustments deliberate. We checked the public plugin preview and exercised the source’s percentage-adjustment helper offline with supplied strings. A zero adjustment kept the supplied font size unchanged even for a longer label. That isolated check is not a live Figma translation test, and it does not establish automatic overflow detection or parent-layout repair.
After localisation, inspect the complete text, font, emphasis, line breaks, adjacent elements and final export. Recheck resizing after application rather than assuming earlier settings survived. Ask a target-language reviewer to approve the wording in context. Right-to-left reading order and script-specific typography need their own review; this Latin-script exercise does not validate them.
For the broader in-editor workflow, see localising a Figma frame. For the approval handoff, use the translation-review guide. The deliverable is a readable, approved frame, with the layout decision recorded for the next language and revision.
Product references
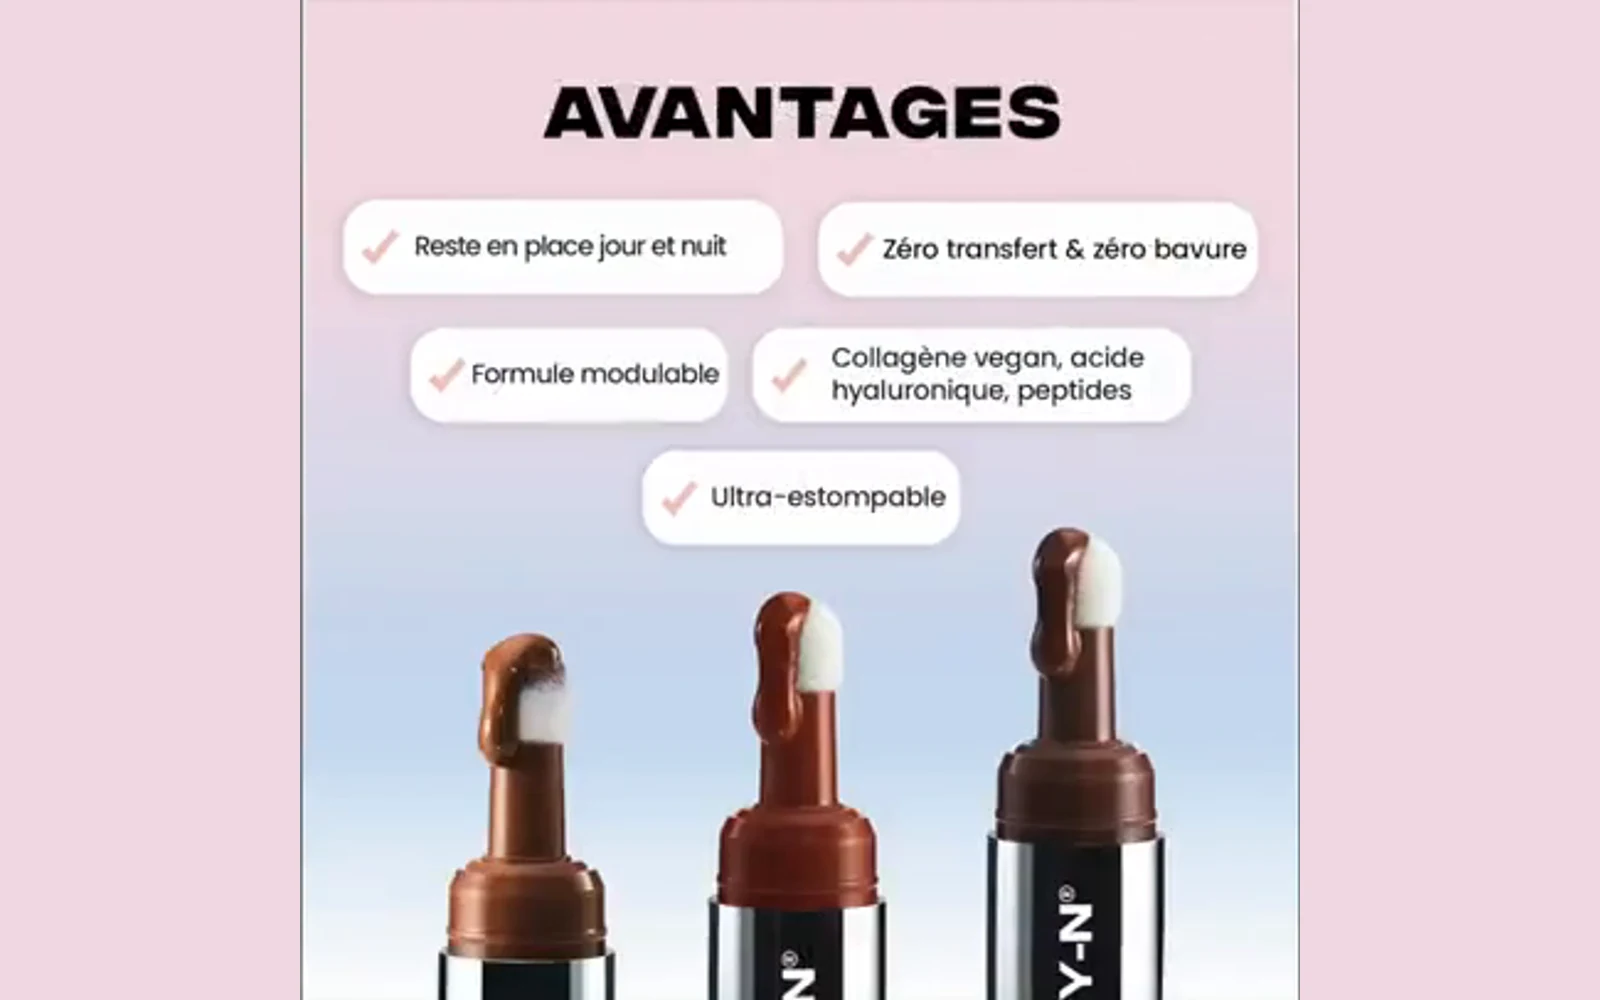
How to translate a JPG or PNG without the original design file
Translate text baked into an image: choose the right workflow, review OCR and wording, render a new image, and check what changed before publishing.
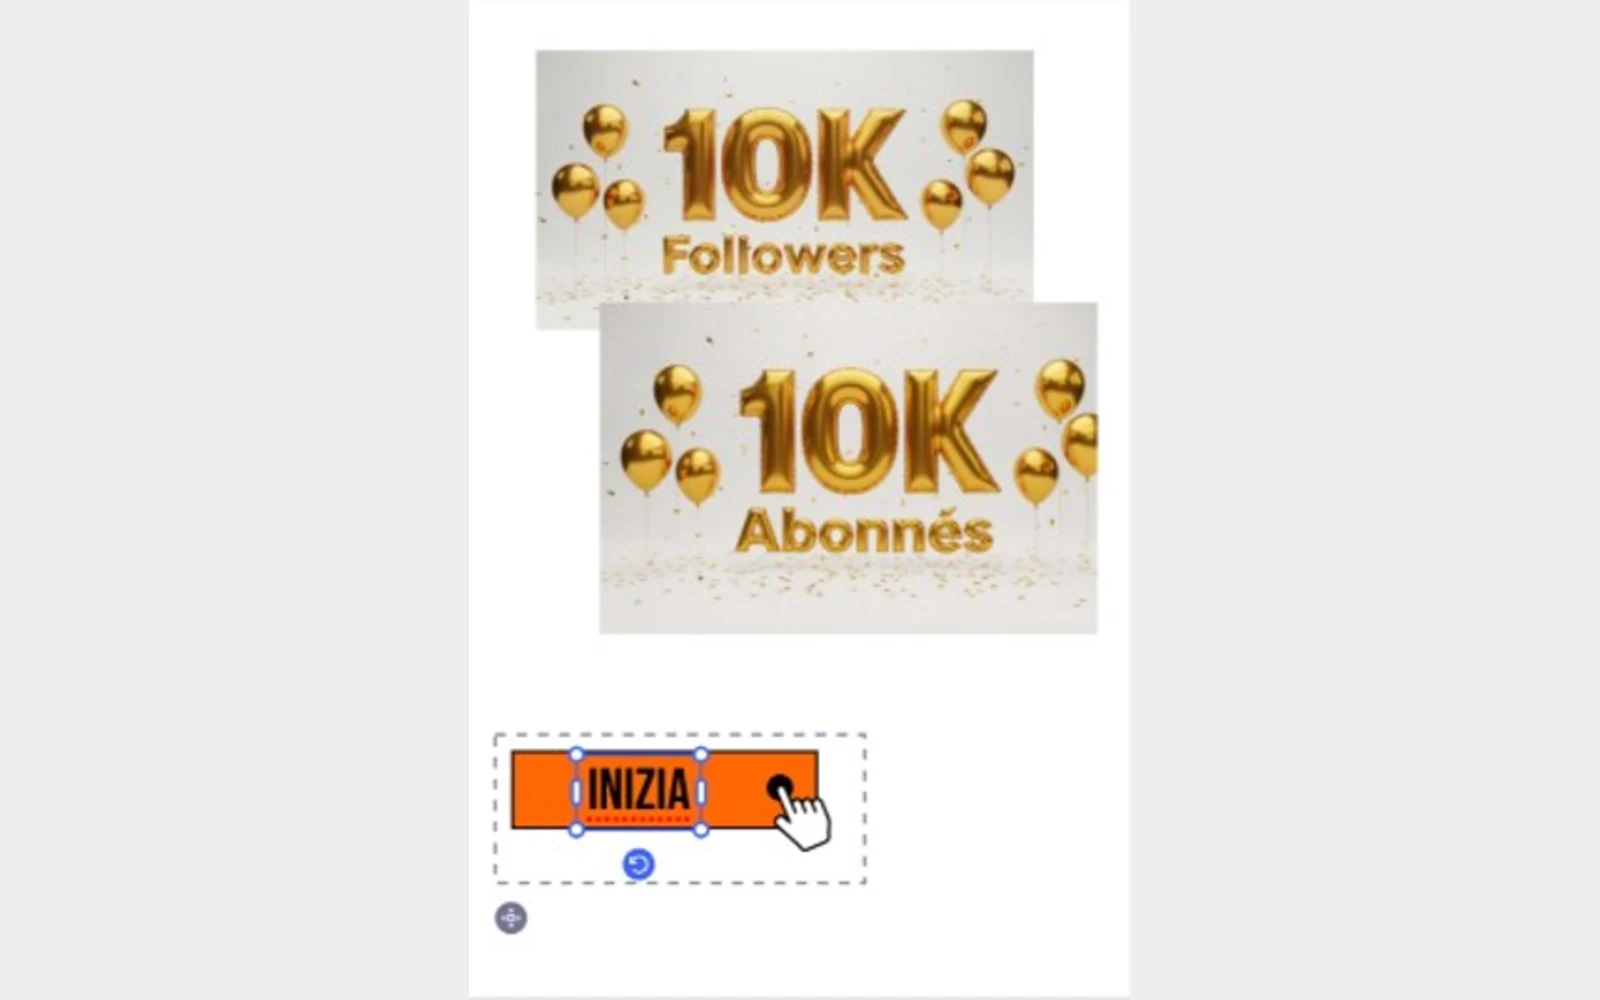
Localise the selection. Keep creating.
Use Nativ in Adobe Express to adapt selected text and images, supply glossary context, and review the result directly on the canvas.