How to translate a JPG or PNG without the original design file
The page is translated. The headline in its hero image is still English. Here is how to handle the asset when the only file you have is a JPG or PNG.
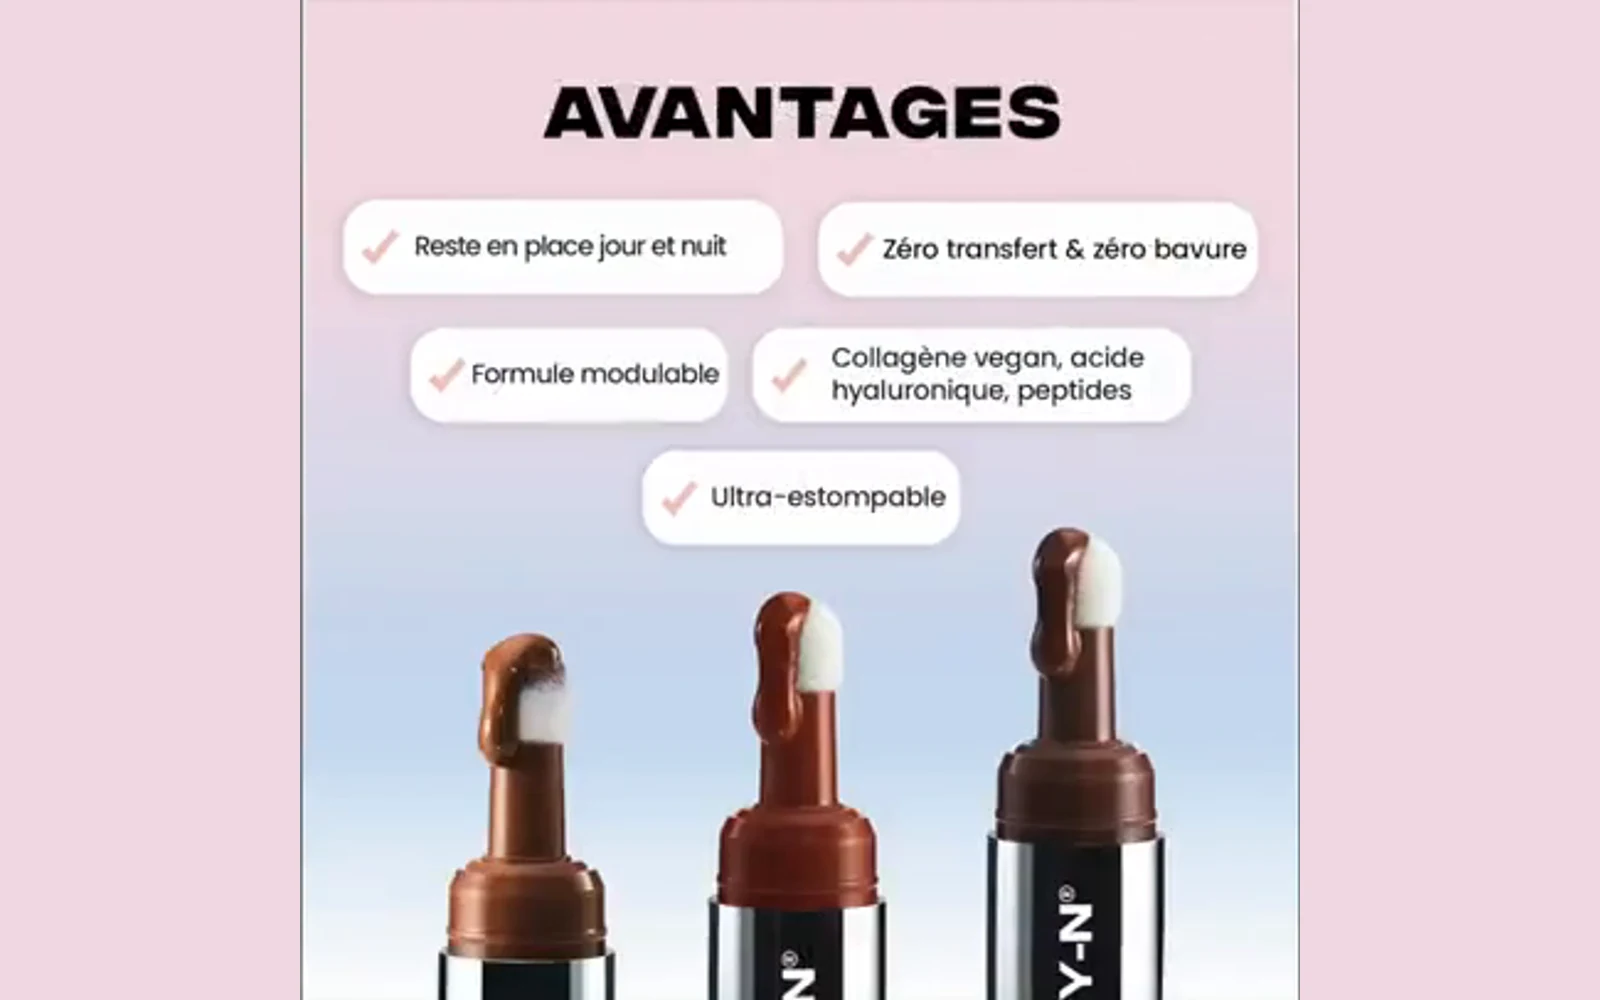
Yes, you can translate text in a JPG or PNG without the source design. First extract and check the words, then translate them, replace them in the image, and review the finished export. You will get another image, not the original editable text layers. If a layered source is available, use that instead.
The distinction comes up in a Reddit discussion about text embedded in JPEGs: should a team request source files, recreate the visual, or deliver a separate translation? In a related thread, a participant narrows the job further: change the copy while retaining the product photograph and its styling. Those are different deliverables from simply reading foreign-language text.
This guide is written by Nativ. The tool names and examples were checked against its published MCP 0.5.0 package on 27 October 2026. No new paid image-generation run or comparative quality test was performed for this article.
Choose the deliverable before choosing the tool
| What you need | A suitable starting point | What to hand over |
|---|---|---|
| Understand what the image says | OCR and text translation | Extracted text and its translation |
| Publish a translated visual, with only a flat file available | Image localisation, followed by visual review | A new JPG, PNG or WebP |
| Keep revising the design across markets | The original design and its editable text | A maintained master and language variants |
On a narrow screen, scroll the table horizontally.
Saving a JPG as a PSD does not recover the text layers that were lost when it was flattened. Adobe recommends PSD to retain layers, effects and masks in the working file. When the original is available, follow the Photoshop localisation workflow or Figma guide and keep the review in the editor.
If you only have an export, keep an untouched copy. Name the working version with its language and revision, such as spring-banner.fr-FR.v1.png, so a later correction can be traced to the right asset.
Make a small inventory of what may change
Before uploading anything, identify the text and its purpose. A logo, an offer, a button and words printed on a photographed package need separate decisions.
Here is a fictional banner brief. It is an editorial example, not an output from the demo above.
| Source item | Instruction | Review question |
|---|---|---|
| Northstar, the fictional brand name | Keep unchanged | Is the spelling and mark intact? |
| New season | Translate as a short campaign headline | Does the message still work at this size? |
| Buy now | Translate as a shopping CTA | Does it match the destination page? |
| Product label in the photograph | Keep unchanged for this task | Has any packaging text been altered? |
On a narrow screen, scroll the brief horizontally.
Give the translator the target locale, placement and intended tone. Record prices, measurements and offer dates explicitly rather than expecting an image tool to decide the commercial details.
You can download a review worksheet for this example. Its target-text and approval fields are deliberately blank: the worksheet records decisions; it does not supply approved translations.
Extract, translate and render with Nativ MCP
You need a Nativ account, API key and compatible MCP client. Use the connection guide first. Normal account usage and credit requirements apply when you run the tools.
- Extract the source wording. Ask the assistant to call
extract_image_texton your PNG, JPEG or WebP. Compare its output with the visible image. Correct missing lines, punctuation and misread characters before translating. - Translate the copy that should change. Use
translatefor a phrase with its placement context, ortranslate_batchfor related phrases. Nativ’s translation tools use the workspace’s translation memory and style guides. Review the proposed wording before rendering. - Build the replacement pairs. Keep each source phrase beside its reviewed target. Exclude text you intend to preserve. Check repeated phrases carefully: the public replacement format identifies text, rather than a particular box on the canvas.
- Render a candidate image. Call
localize_imagewith the original image, replacement pairs and target language code. Keep the original and candidate together for the final check.
For example, these are arguments to localize_image in a local stdio setup. The French wording is illustrative and should be reviewed for the actual placement.
{
  "image_path": "/work/spring-banner.en.png",
  "replacements": "[{\"original\":\"Buy now\",\"translated\":\"Achetez maintenant\"}]",
  "target_language_code": "fr-FR",
  "output_format": "png"
}
replacements is a JSON-encoded string containing the pairs. This call renders supplied wording; use the translation tools first to produce that wording. It returns the saved image path locally. Hosted MCP accepts an HTTPS image URL and returns a download URL, so a path on your laptop is not a hosted input.
The public MCP arguments do not provide a brush mask or coordinates for each replacement. If you need exact spatial control, check the chosen interface’s controls or finish the asset in a design editor. Do not assume that naming a source phrase guarantees every other pixel will remain identical.
Review the image in two passes
Check the language first. Have a reviewer who understands the target locale inspect the headline, CTA, small print and any text OCR missed. Backtranslation can help explain a candidate; it cannot establish that the target wording sounds natural or says the right thing in context.
Then check the visual. Open the original and candidate side by side, at full size and at the size the audience will see. Use this acceptance list:
- Every intended phrase is present, with no source-language fragments left behind.
- Longer wording fits without clipped accents, awkward breaks or unreadably small text.
- Logos, packaging, product details and other protected content match the original.
- The area behind replaced text has no visible seams, smears or stray characters.
- Dimensions, transparency and export format suit the destination.
- The CTA and offer agree with the landing page that will accompany the image.
A successful tool response means a file was returned. These checks determine whether it is ready to publish. If the background or typography needs repair, retain the reviewed copy and do a controlled design pass instead of repeatedly generating the whole asset without a clear correction plan.
Publish the right asset, and keep the next revision easier
Generating a French image does not automatically make a French storefront display it. Upload the approved file to the appropriate CMS, campaign or locale variant, then check that the published page actually loads it. Retain the source filename, target locale, approved wording and final asset together.
For website headlines and buttons, consider keeping the words as live HTML over the image in the next design. W3C recommends real text where possible because it is more adaptable and accessible. Where an image of text is necessary, its text alternative should convey the same wording.
For the asset you have today, start with one image and one locale. Connect Nativ MCP, check the extracted text, review the replacement copy, and approve the finished visual before expanding the batch.
Product references
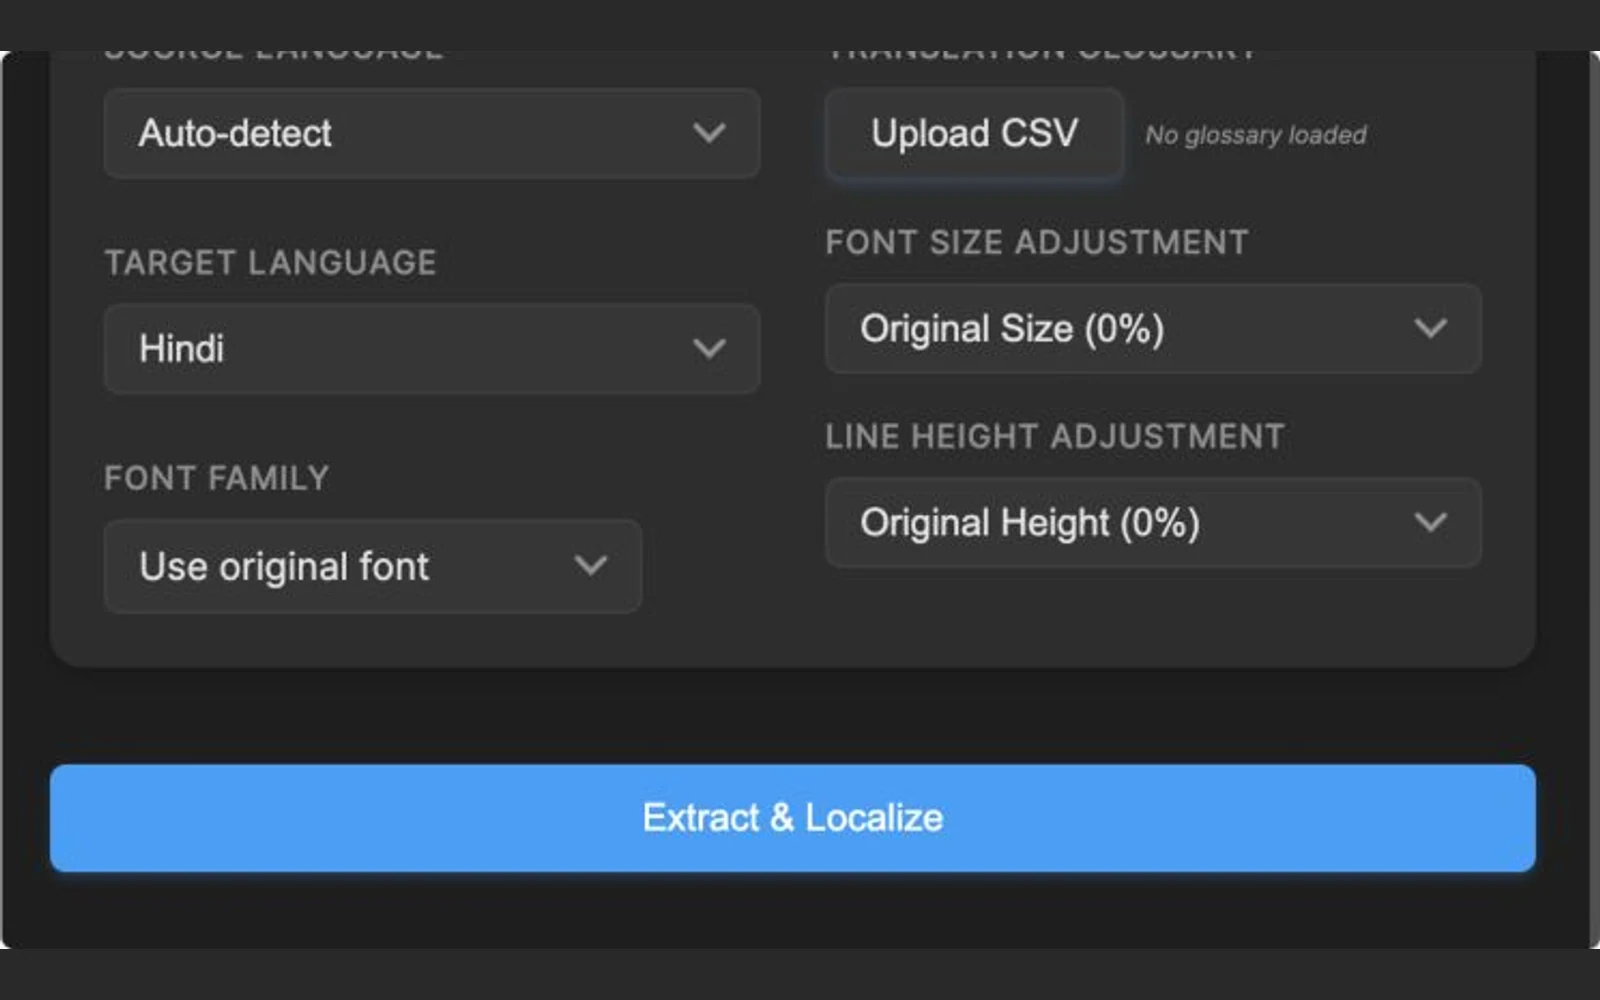
How to fix translated text that overflows in Figma
Diagnose clipped translations in Figma: text resizing, parent auto layout, fonts and copy limits, with an interactive text-fit exercise.
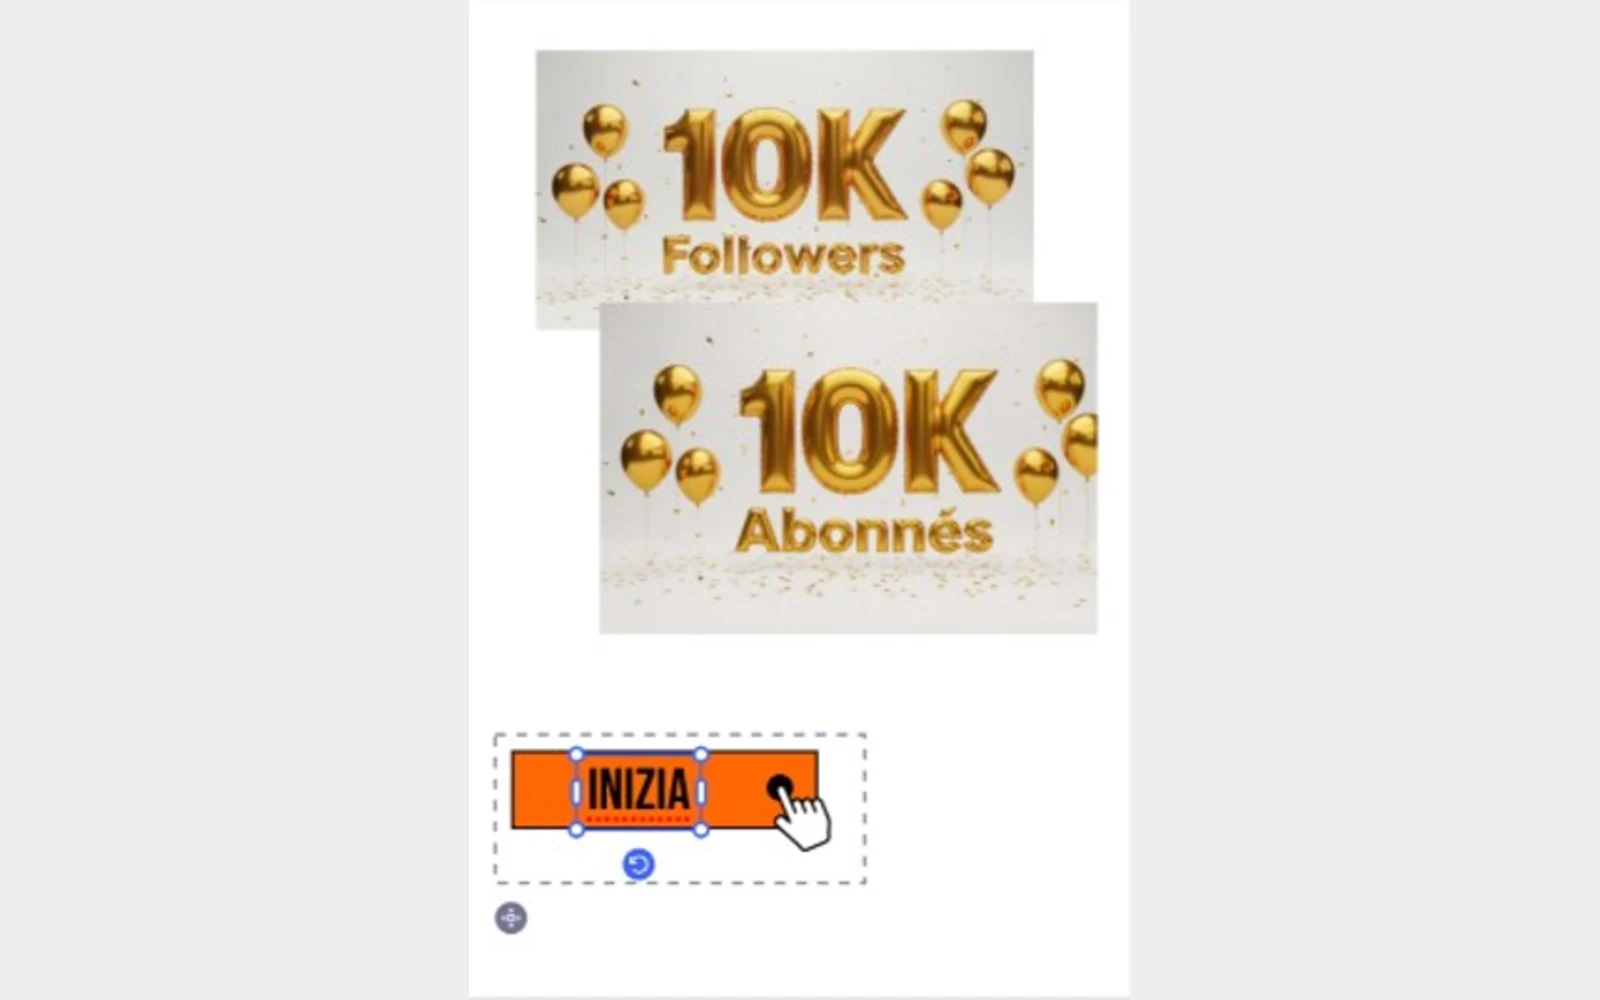
Localise the selection. Keep creating.
Use Nativ in Adobe Express to adapt selected text and images, supply glossary context, and review the result directly on the canvas.