Why translated text disappears in InDesign, and how to find it
Before paying to translate a paragraph again, establish whether the words are missing from the story or simply missing from the page. Those need different fixes.
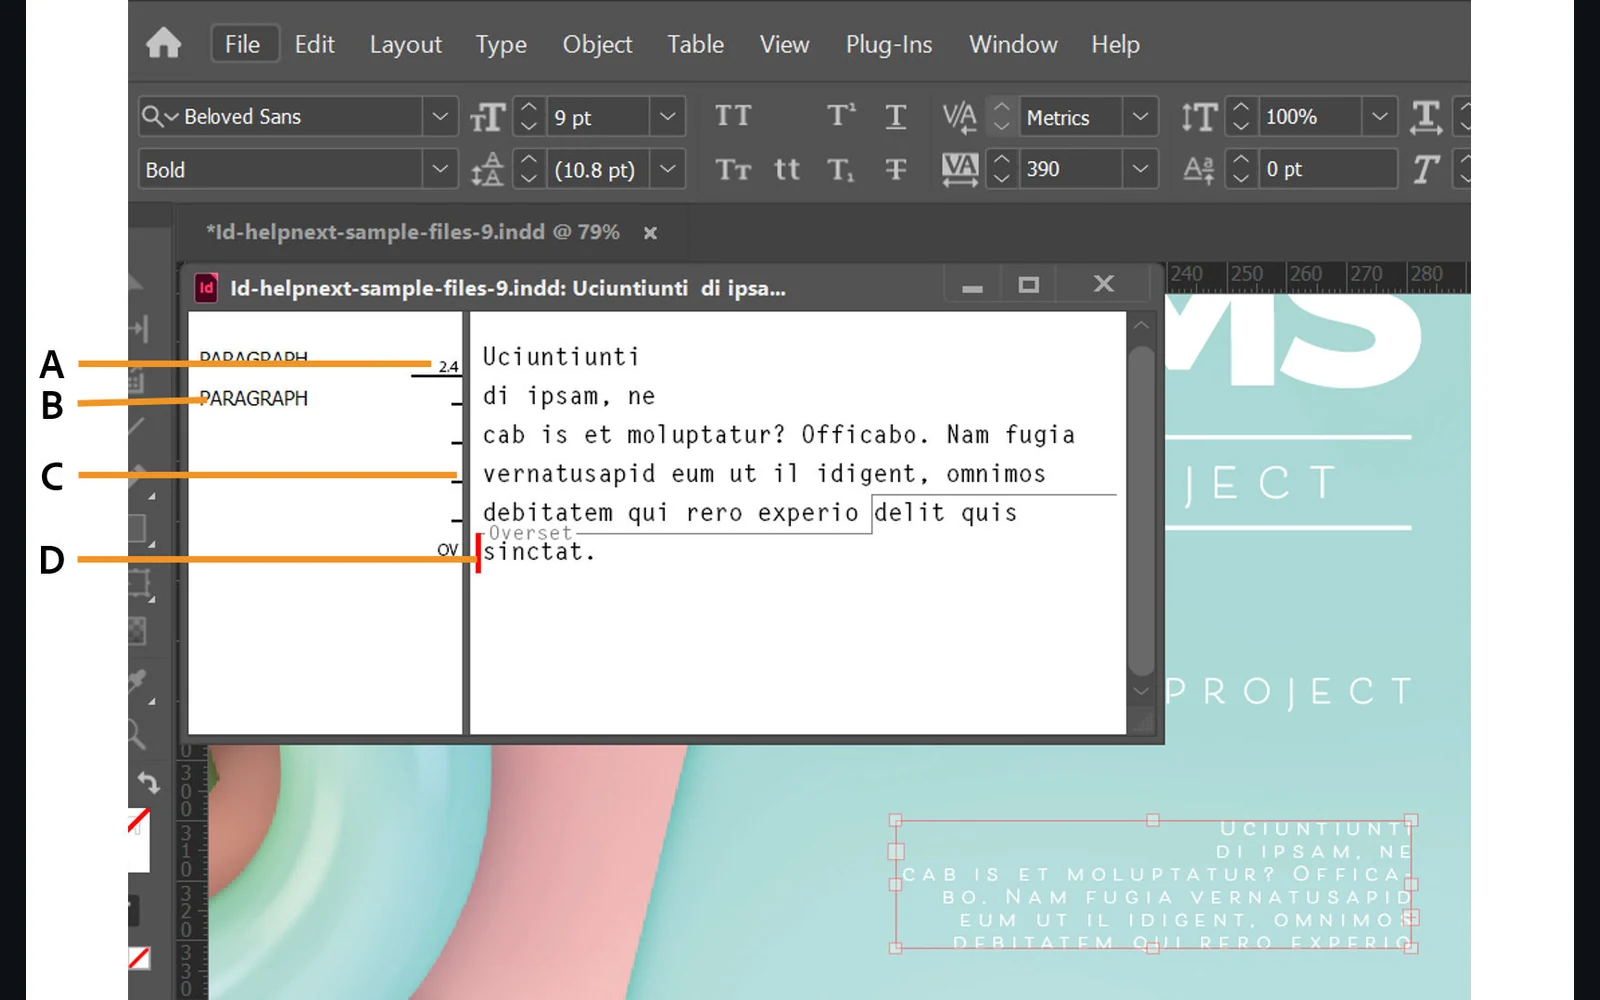
Missing text after translation is not automatically lost text. InDesign may still contain the translated words in a story that no longer fits its frames. Start with Story Editor, then inspect the frame thread and Preflight. If the expected wording is absent from the story too, investigate the translation/export handoff before changing the typography.
An Adobe Community question about a translated IDML describes exactly that uncertainty: the translation was finished, but some text did not appear after reopening the file. Replies proposed overset as one possibility, not a confirmed diagnosis. A separate Reddit brochure-editing question describes words that remained available to copy even though the page stopped showing them.
Here is a way to separate those cases without treating every missing paragraph as a new translation job. The host steps below follow current Adobe documentation. The downloadable text diagnostic was tested on fictional XML fixtures; we did not run a translated InDesign project or a paid localisation job for this guide.
1. Find the words before changing the frame
Save a working copy and identify one expected target-language sentence from the reviewed translation. Choose something distinctive near the missing passage, rather than a common product name that occurs on every page.
- Select the affected text frame or place the Type tool inside it.
- Choose Edit → Edit in Story Editor.
- Inspect the passage and the end of the story. Compare the wording with the reviewed translation.
- Record which of three states you have: the sentence is present; different wording is present; or the expected passage cannot be found.
Adobe’s Story Editor guide explains how to read and edit overset content outside the designed page. Its display font is a reading aid, not proof that the layout’s chosen font can render every character.
If the sentence is present, preserve it while investigating layout. If it is absent, check the correct language version, selected translation scope and returned file. Repeatedly shrinking a frame’s text cannot restore wording that was never inserted.
2. Separate overset from a broken handoff
| What you observe | What to inspect next |
|---|---|
| Expected words in the story; a red plus at the out port | Available frame space and the continuation of the story. |
| Words present, but boxes or unexpected characters appear | The actual font and target-script coverage; then recheck line breaks. |
| Expected passage absent or replaced by different wording | The selected scope, language version and translation/export result. |
| Layout looks complete, but delivered PDF is incomplete | The exact saved document, export version and final file, alongside Preflight. |
A red plus in a text frame’s out port indicates overset. Use View → Extras → Show Text Threads to inspect the connected frames. Adobe’s threading reference documents linking a new frame or continuing into an existing one. Follow the whole thread: the problem can affect later pages, not just the frame you selected.
If the words are present but there is no overset indicator, inspect the intended layer’s visibility and any conditional text. Hidden content is another reason the page and the story can differ.
On the working copy, first decide whether the design permits a larger frame or another linked frame. A fixed four-page brochure and a digital report have different space budgets. If the layout must stay fixed, ask the language reviewer for a shorter version that retains the facts and intent. Record that as an editorial change; do not silently cut the final sentence.
3. Check formatting before reducing every font size
A large-looking frame is not necessarily a large usable text area. Inspect its columns and inset spacing in Object → Text Frame Options, described in Adobe’s frame-properties guide.
Check the affected passage’s line-breaking rules as well. Adobe documents that No Break keeps selected text on one line. Verify that a rule intended for a name has not spread across a much longer passage. Make a narrow correction on the copy, rather than clearing all styles and losing the publication’s hierarchy.
Use Type → Find/Replace Font when the actual font needs investigation. Adobe’s font reference distinguishes document text from fonts inside placed graphics. A font change can alter the fit, so inspect the page again afterwards. A PDF or image containing lettering is a separate source asset, not necessarily editable InDesign text.
4. Check an IDML phrase locally when the handoff is unclear
For a technical reviewer, we include a small read-only Python diagnostic, an exercise ZIP and its instructions and limits. Download them to the same folder. Python 3.10 or later is required; no additional packages are used.
python3 check_idml_text.py literal-story-exercise.zip \
  --contains "Keep the final sentence."
The expected result is one matching story, with layoutChecked set to false. The phrase crosses two character-formatting runs in our fictional fixture. Searching for This sentence is missing. returns zero matching stories.
The exercise ZIP is a parser fixture, not an InDesign document. It has no complete spreads, fonts or frame geometry. For a real investigation, run the command on a copy of your returned IDML and substitute an exact expected target phrase. Adobe’s IDML migration documentation describes locating story parts through designmap.xml; the diagnostic follows those references and searches their literal text.
It makes no network requests and does not modify the input. A match establishes only that literal wording is in a referenced story part. It does not establish visible placement, correct typography, overset status or linguistic approval. A zero match can reflect punctuation, whitespace, changed wording or unsupported content. The tool does not resolve hidden conditions, tracked changes, notes or generated variables into a final reading, and it is not a complete IDML validator. Return to Story Editor for the layout decision.
5. Use Nativ on a controlled selection
Nativ for InDesign lets you localise document text in place, with a selected-text scope and optional font, size and vertical-spacing controls. The panel’s Match balloon length option is a copy constraint, not a geometric guarantee.
For the next language version, duplicate the source document, choose Selected Text Only, and process one representative passage first. Add the document’s terminology and context. Then repeat the story, frame and export checks above. Treat length-constrained wording as a proposal to review, especially where an instruction, qualification or name must survive unchanged.
The InDesign workflow guide covers the plugin setup. For a document whose words are already translated correctly, repair the layout before requesting another generation. A translation tool and a document-repair diagnosis have different jobs.
6. Verify the file the reader will receive
Open Window → Output → Preflight and confirm that checking is enabled, the intended profile is active and its page/layer scope covers the deliverable. Preflight options affect what gets reported. If needed, use Define Profiles to inspect the text checks, following Adobe’s profile guide.
A forum report about an absent PDF-export warning is a useful reminder not to make that dialog your entire review process. A green indicator reports the selected checks; it does not certify translated meaning.
Save, export a new file, then inspect that exact export. Find the expected sentence, read the preceding and following text, check the last line of each affected frame and confirm the intended page count. Give the language reviewer the final proof, not an earlier screenshot. Keep the reviewed editable file and its matching export together so the next correction starts from the version that was actually approved.
Product references
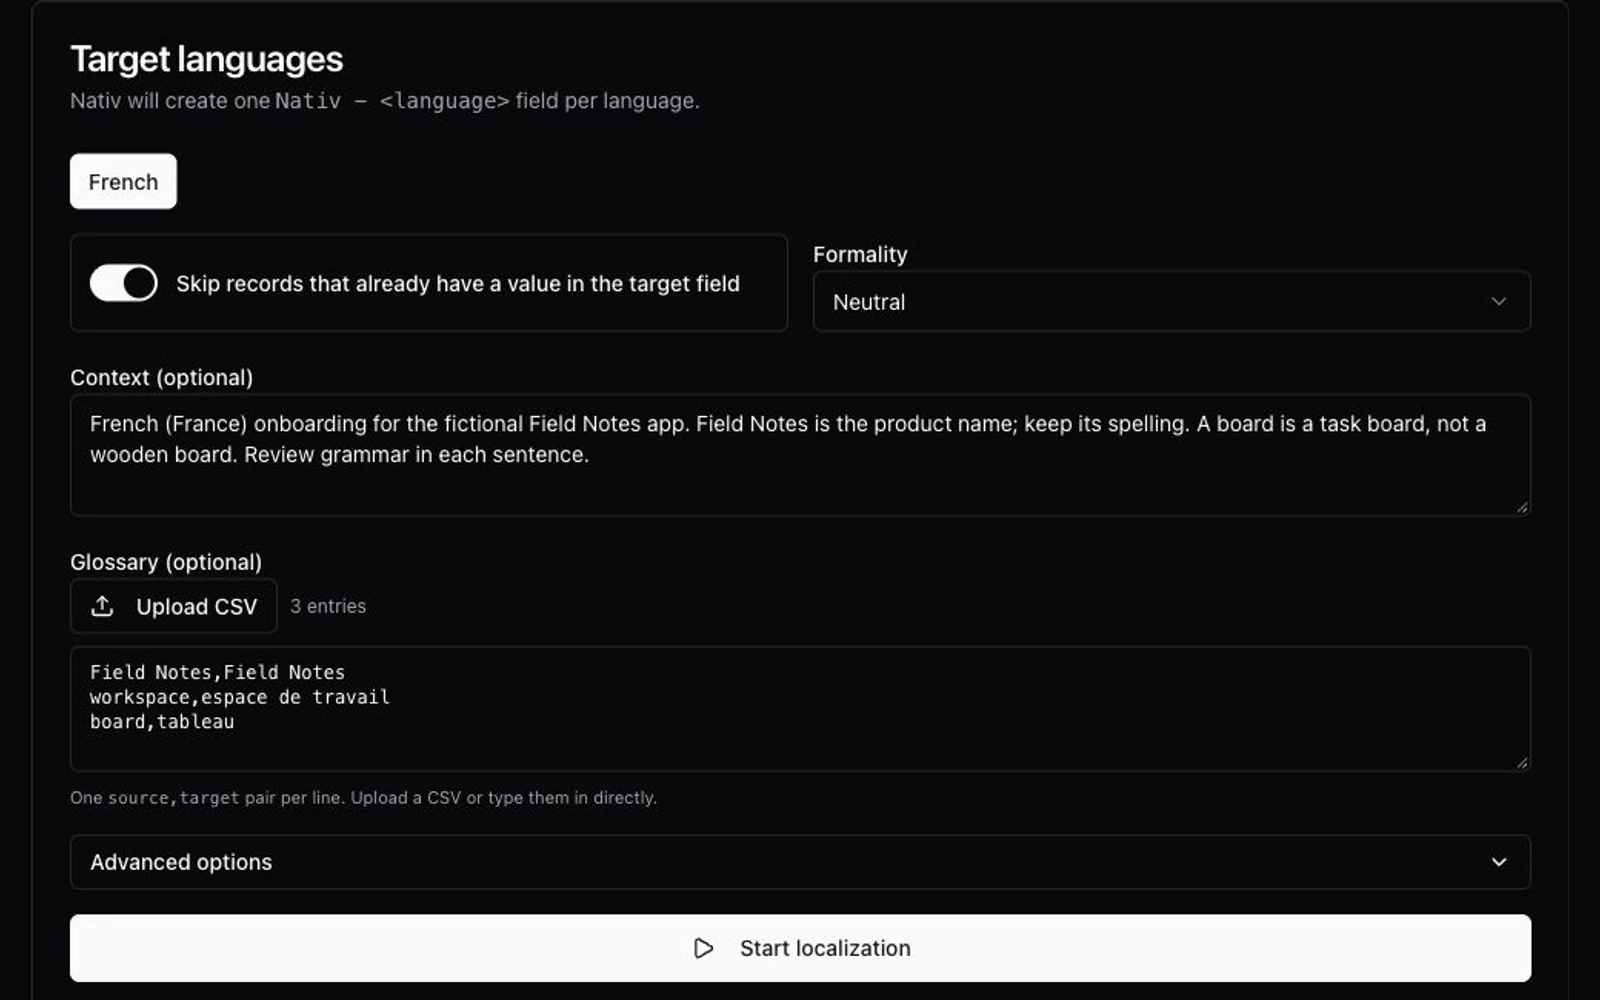
How to create a translation glossary, with a CSV template
Build a useful translation glossary from existing copy, define term meanings and locale rules, then test it in Nativ’s dashboard or MCP workflow.
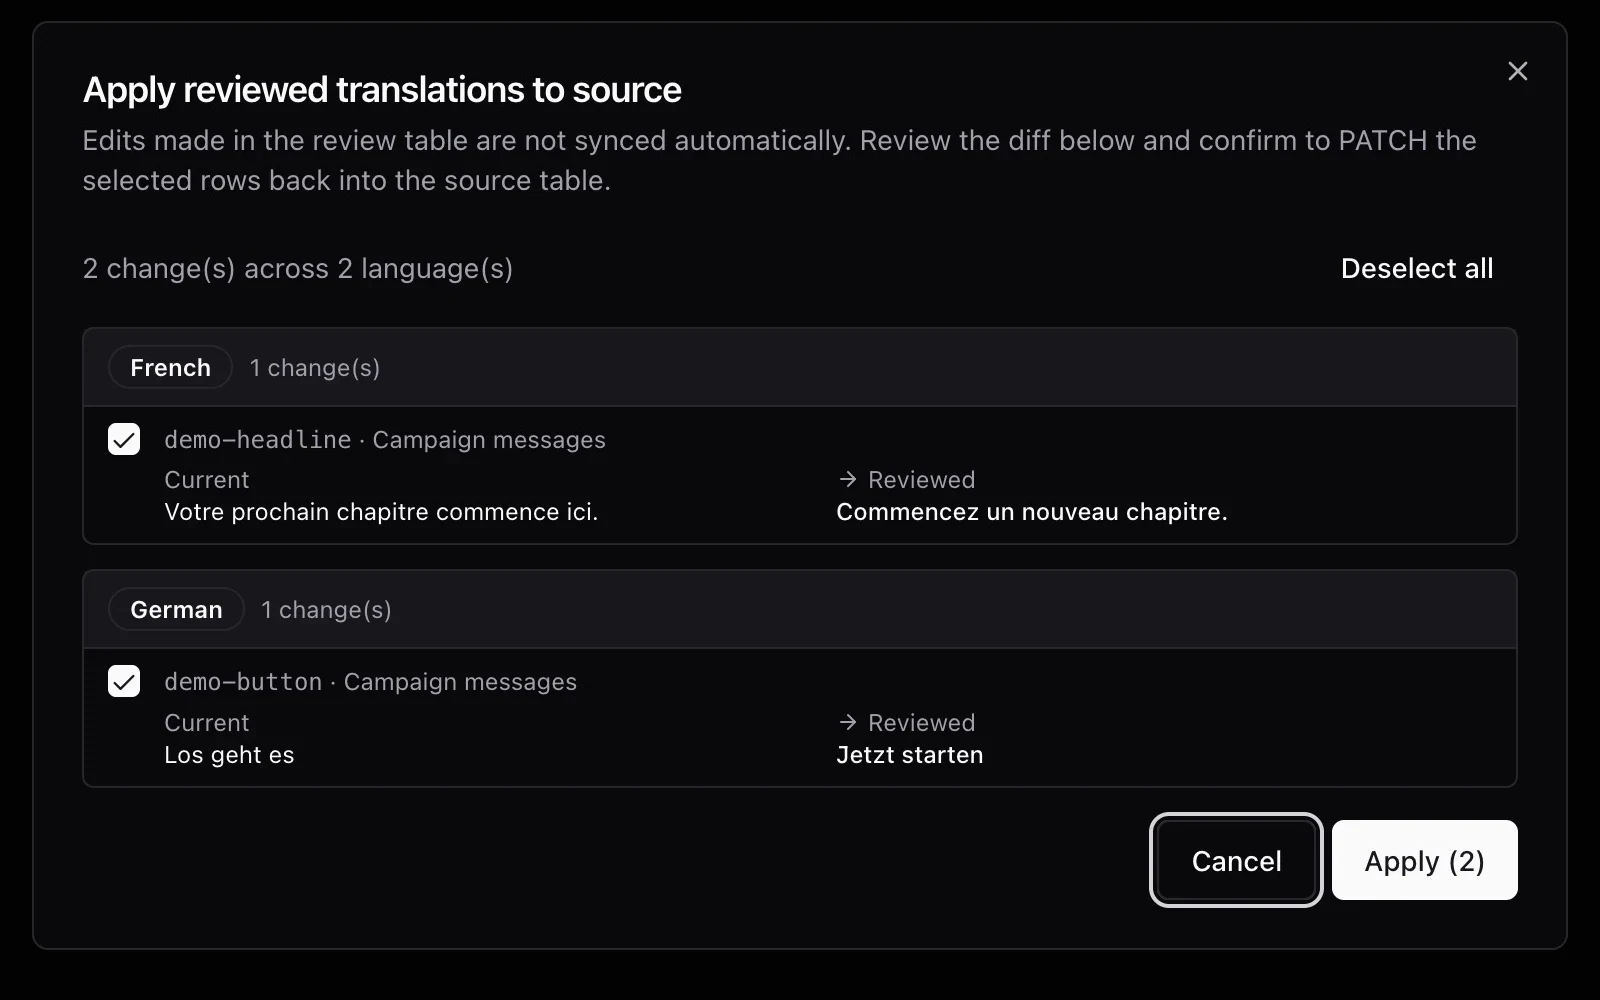
How to review a translation when you don’t speak the language
Check facts, placeholders and layout, use backtranslation carefully, and give a language reviewer a clear handoff before publishing translated content.